Corona on 3ds Max for Rendering

About Course
Every architecture student or graduate faces challenges when learning to create hyper-realistic renders to professionally visualize their ideas. Corona and 3ds Max are the industry-standard tools used by architects and interior designers to achieve the best results. In this course, you’ll learn the complete process of creating a render using Corona Renderer in 3ds Max — from navigating the interface and modeling, to setting up your scene and final rendering. No prior experience with 3ds Max or Corona is required, and by the end of the course, you’ll have the skills to produce advanced-level renders.
What Will I Learn?
- 3ds Max interface
- Importing 2D and 3D files into 3ds Max
- Basic modeling on 3ds Max
- Adding lights, cameras, and materials
- Creating renders using Corona
- Post producing renders on Corona and on Photoshop
Target Audience
- This course is designed for students or graduates in Architecture, Urban Design, or Interior Design who want to master rendering with Corona in 3ds Max, progressing from beginner to advanced levels.
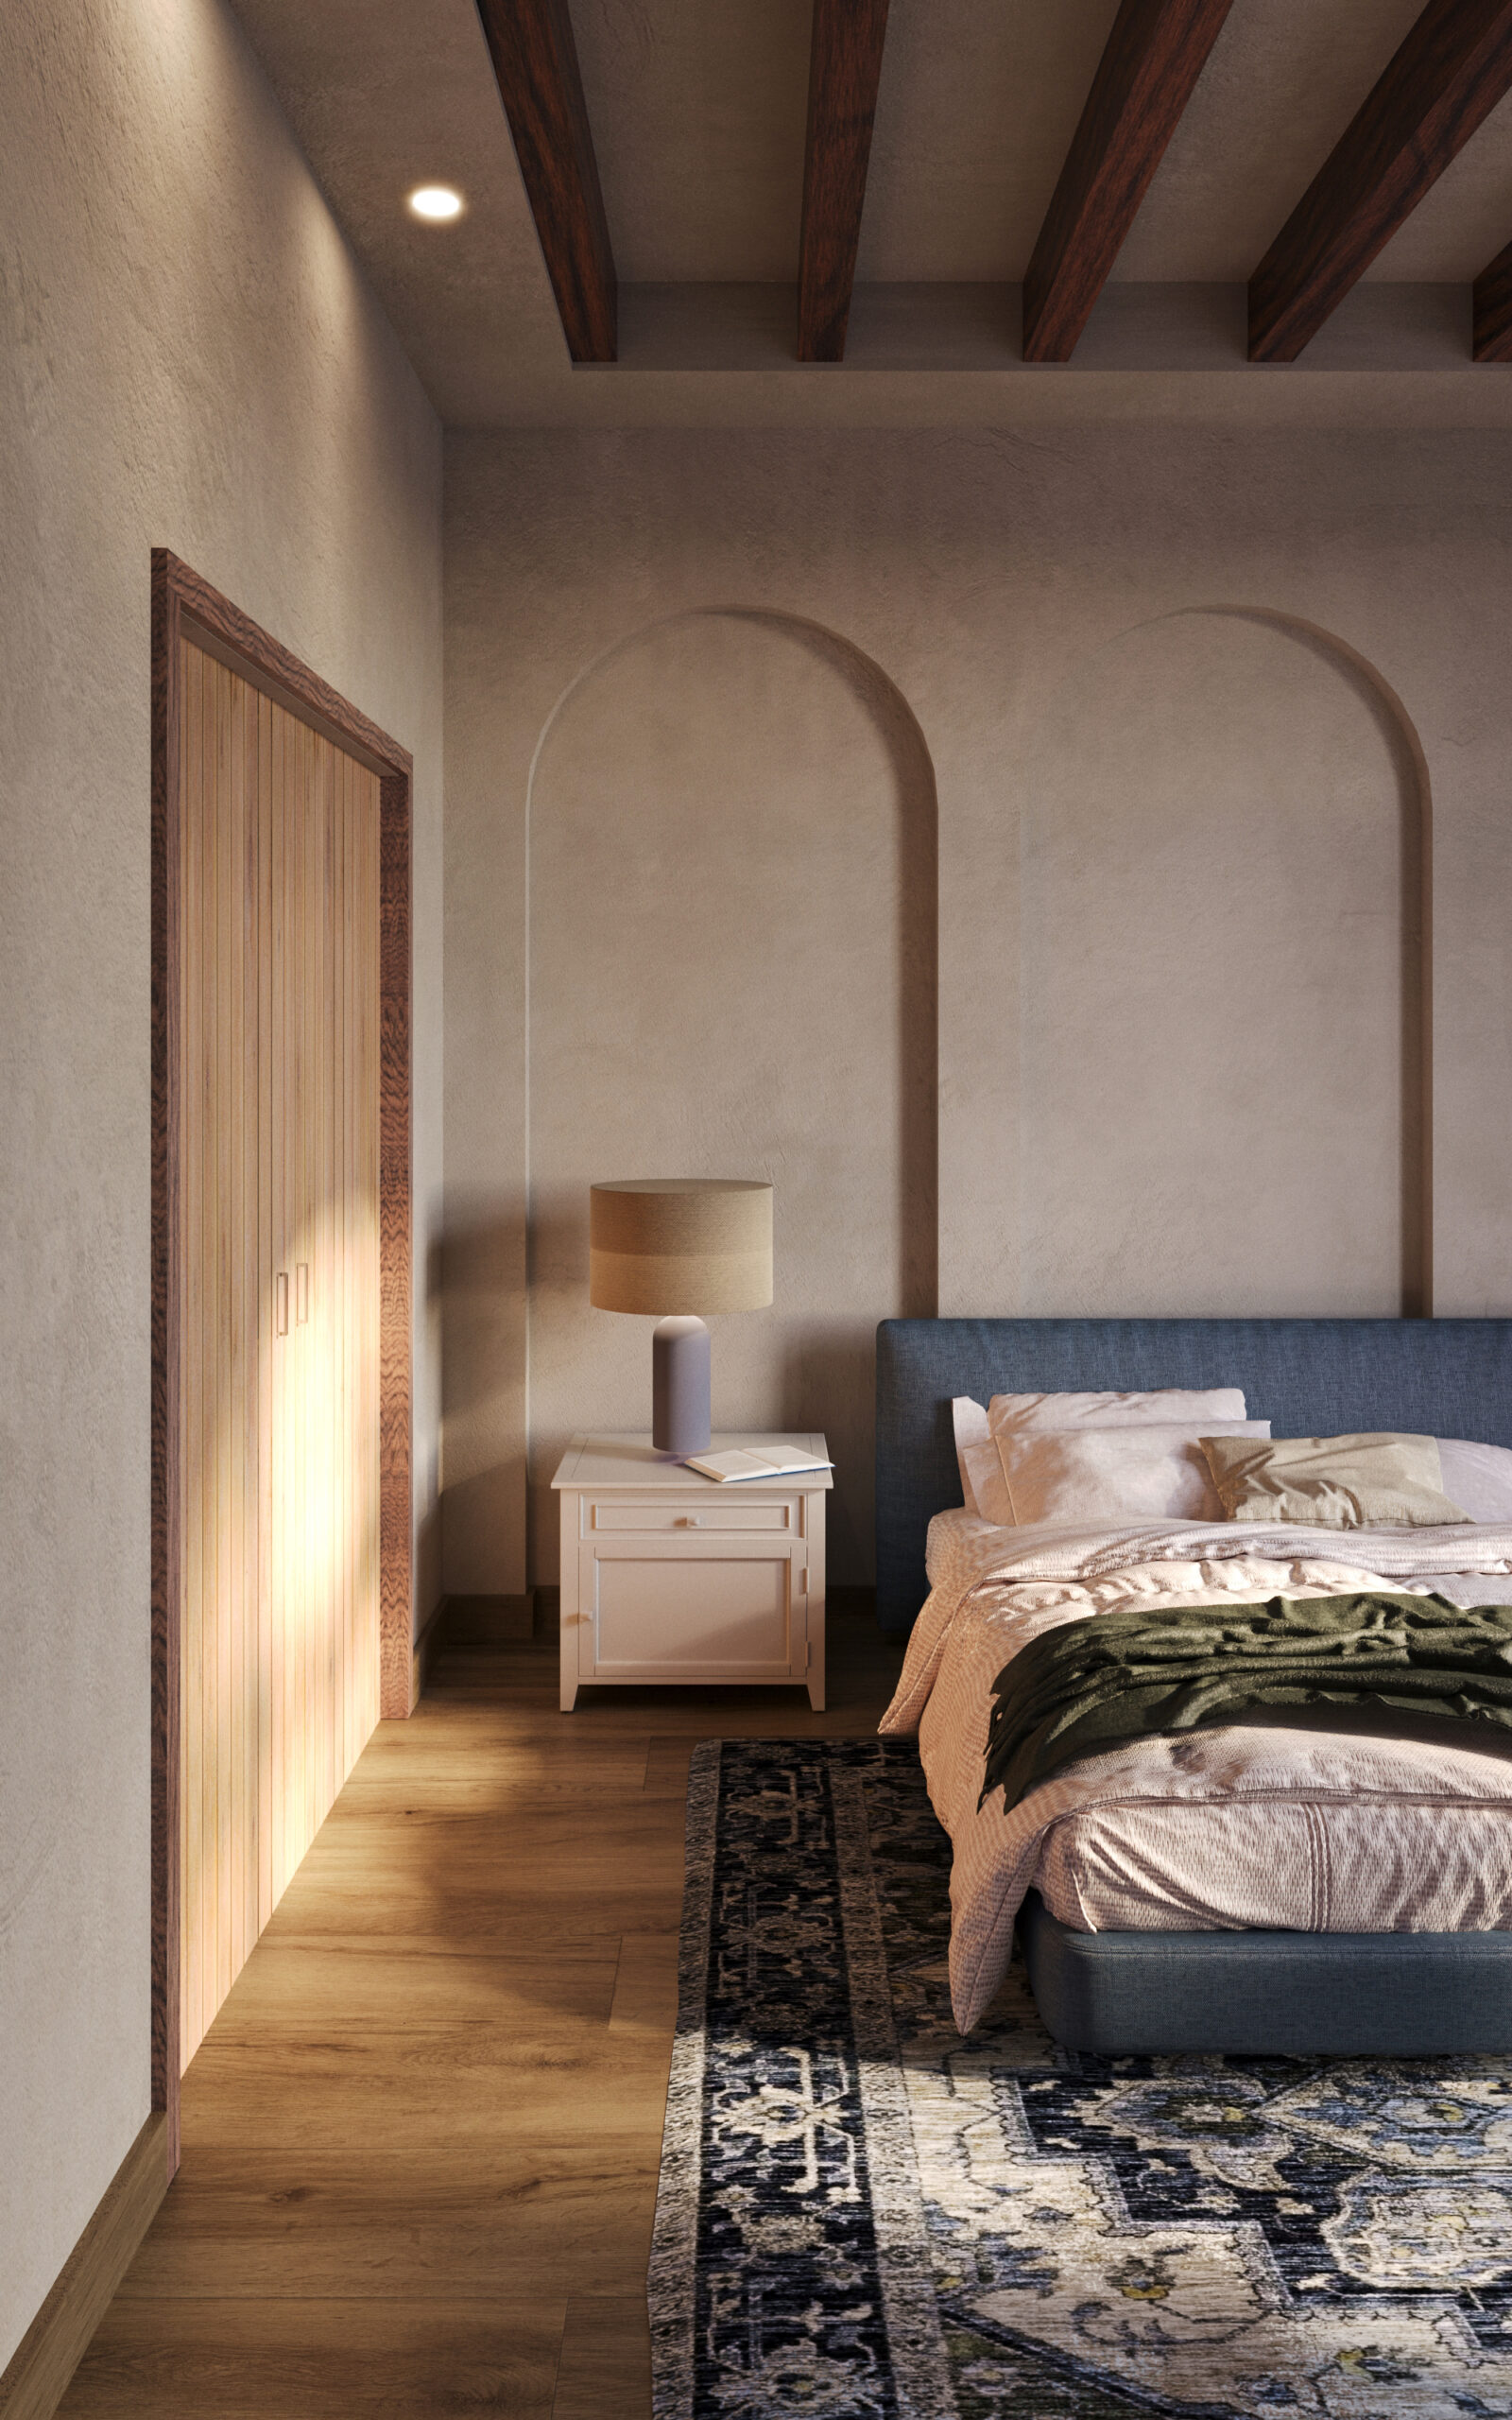
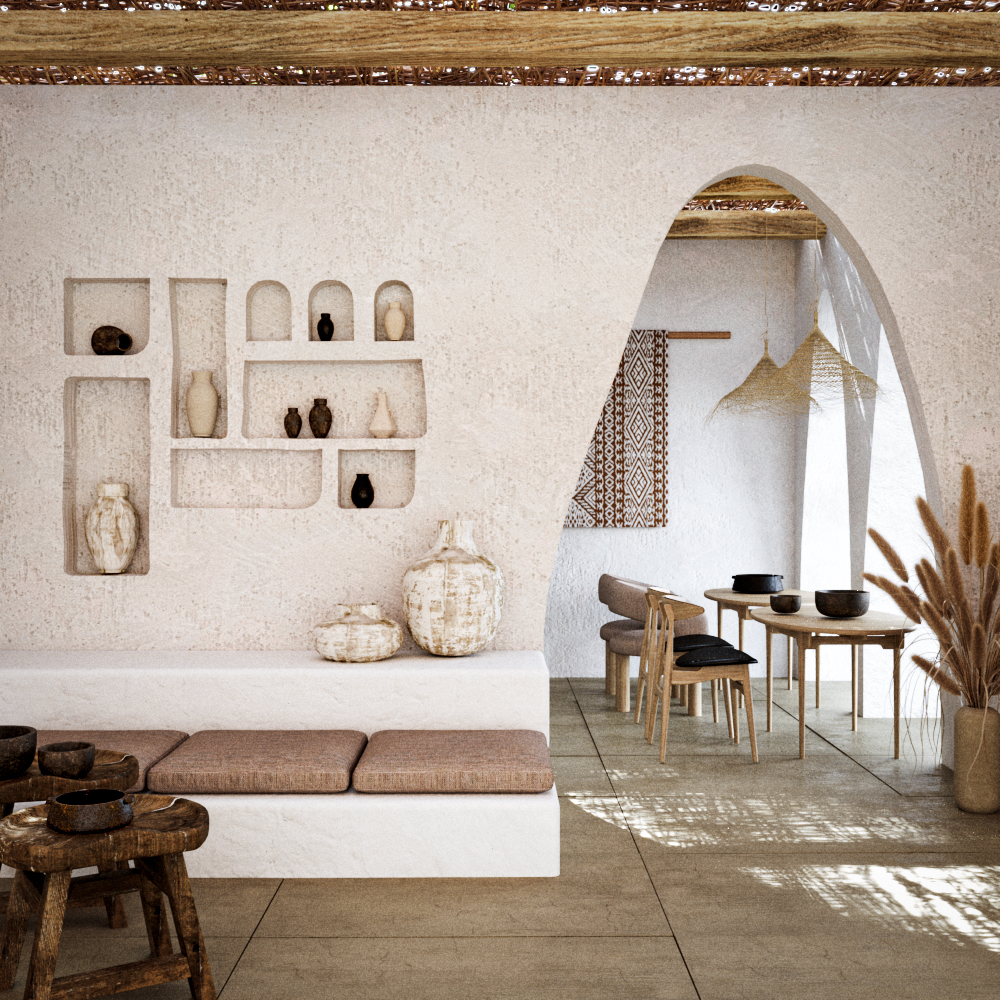
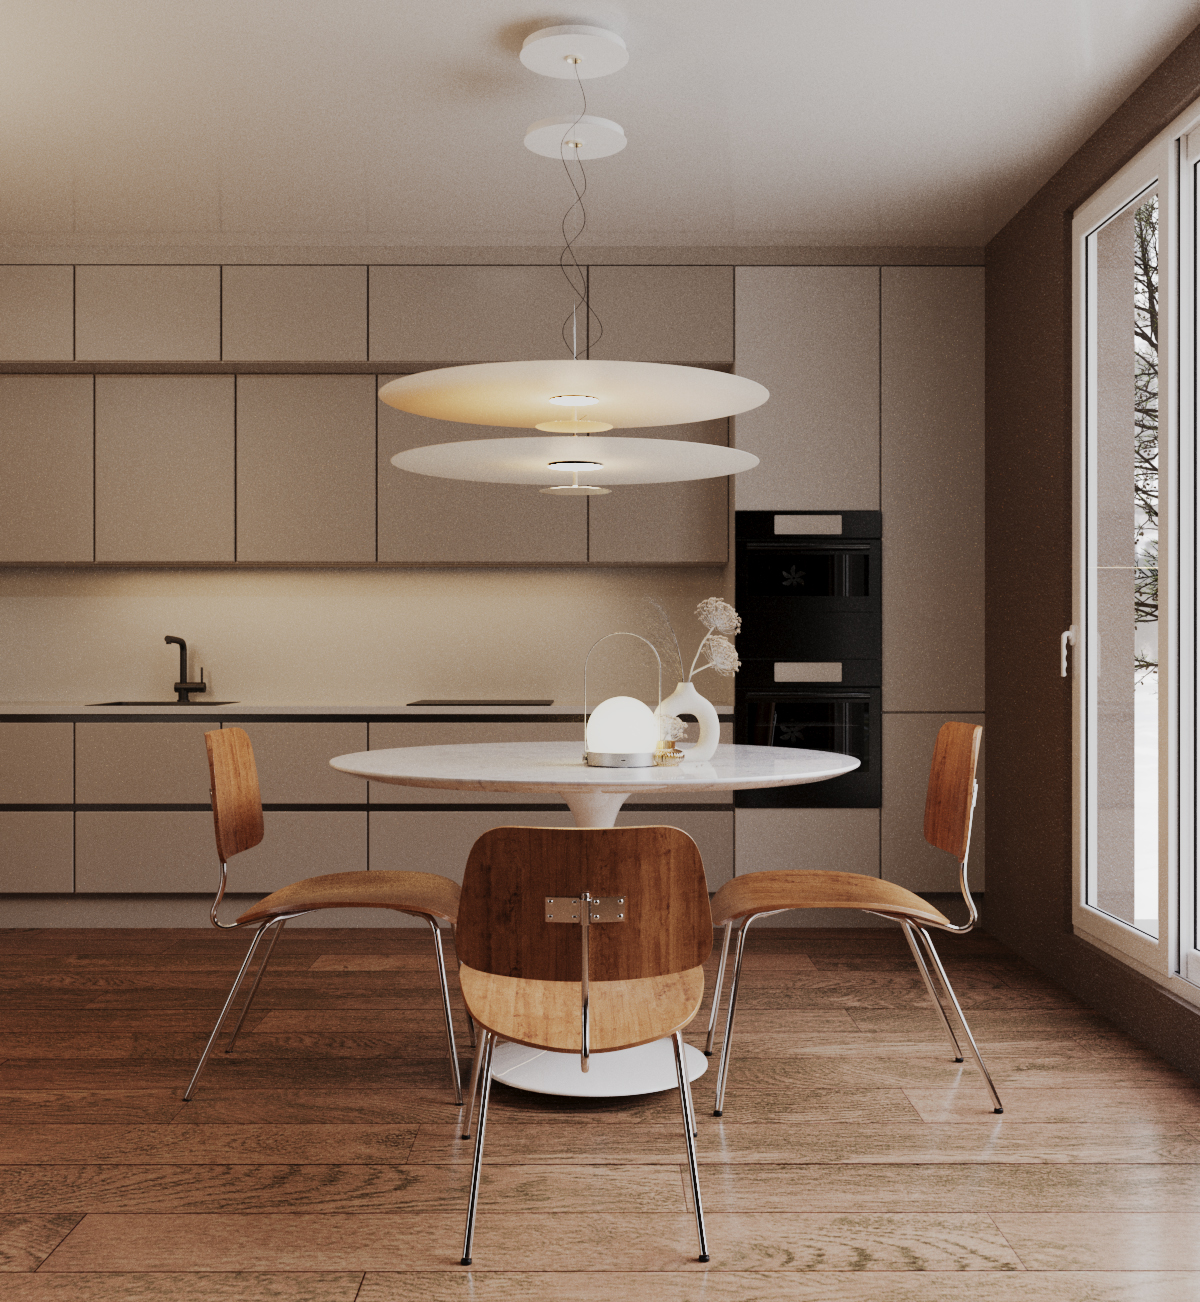
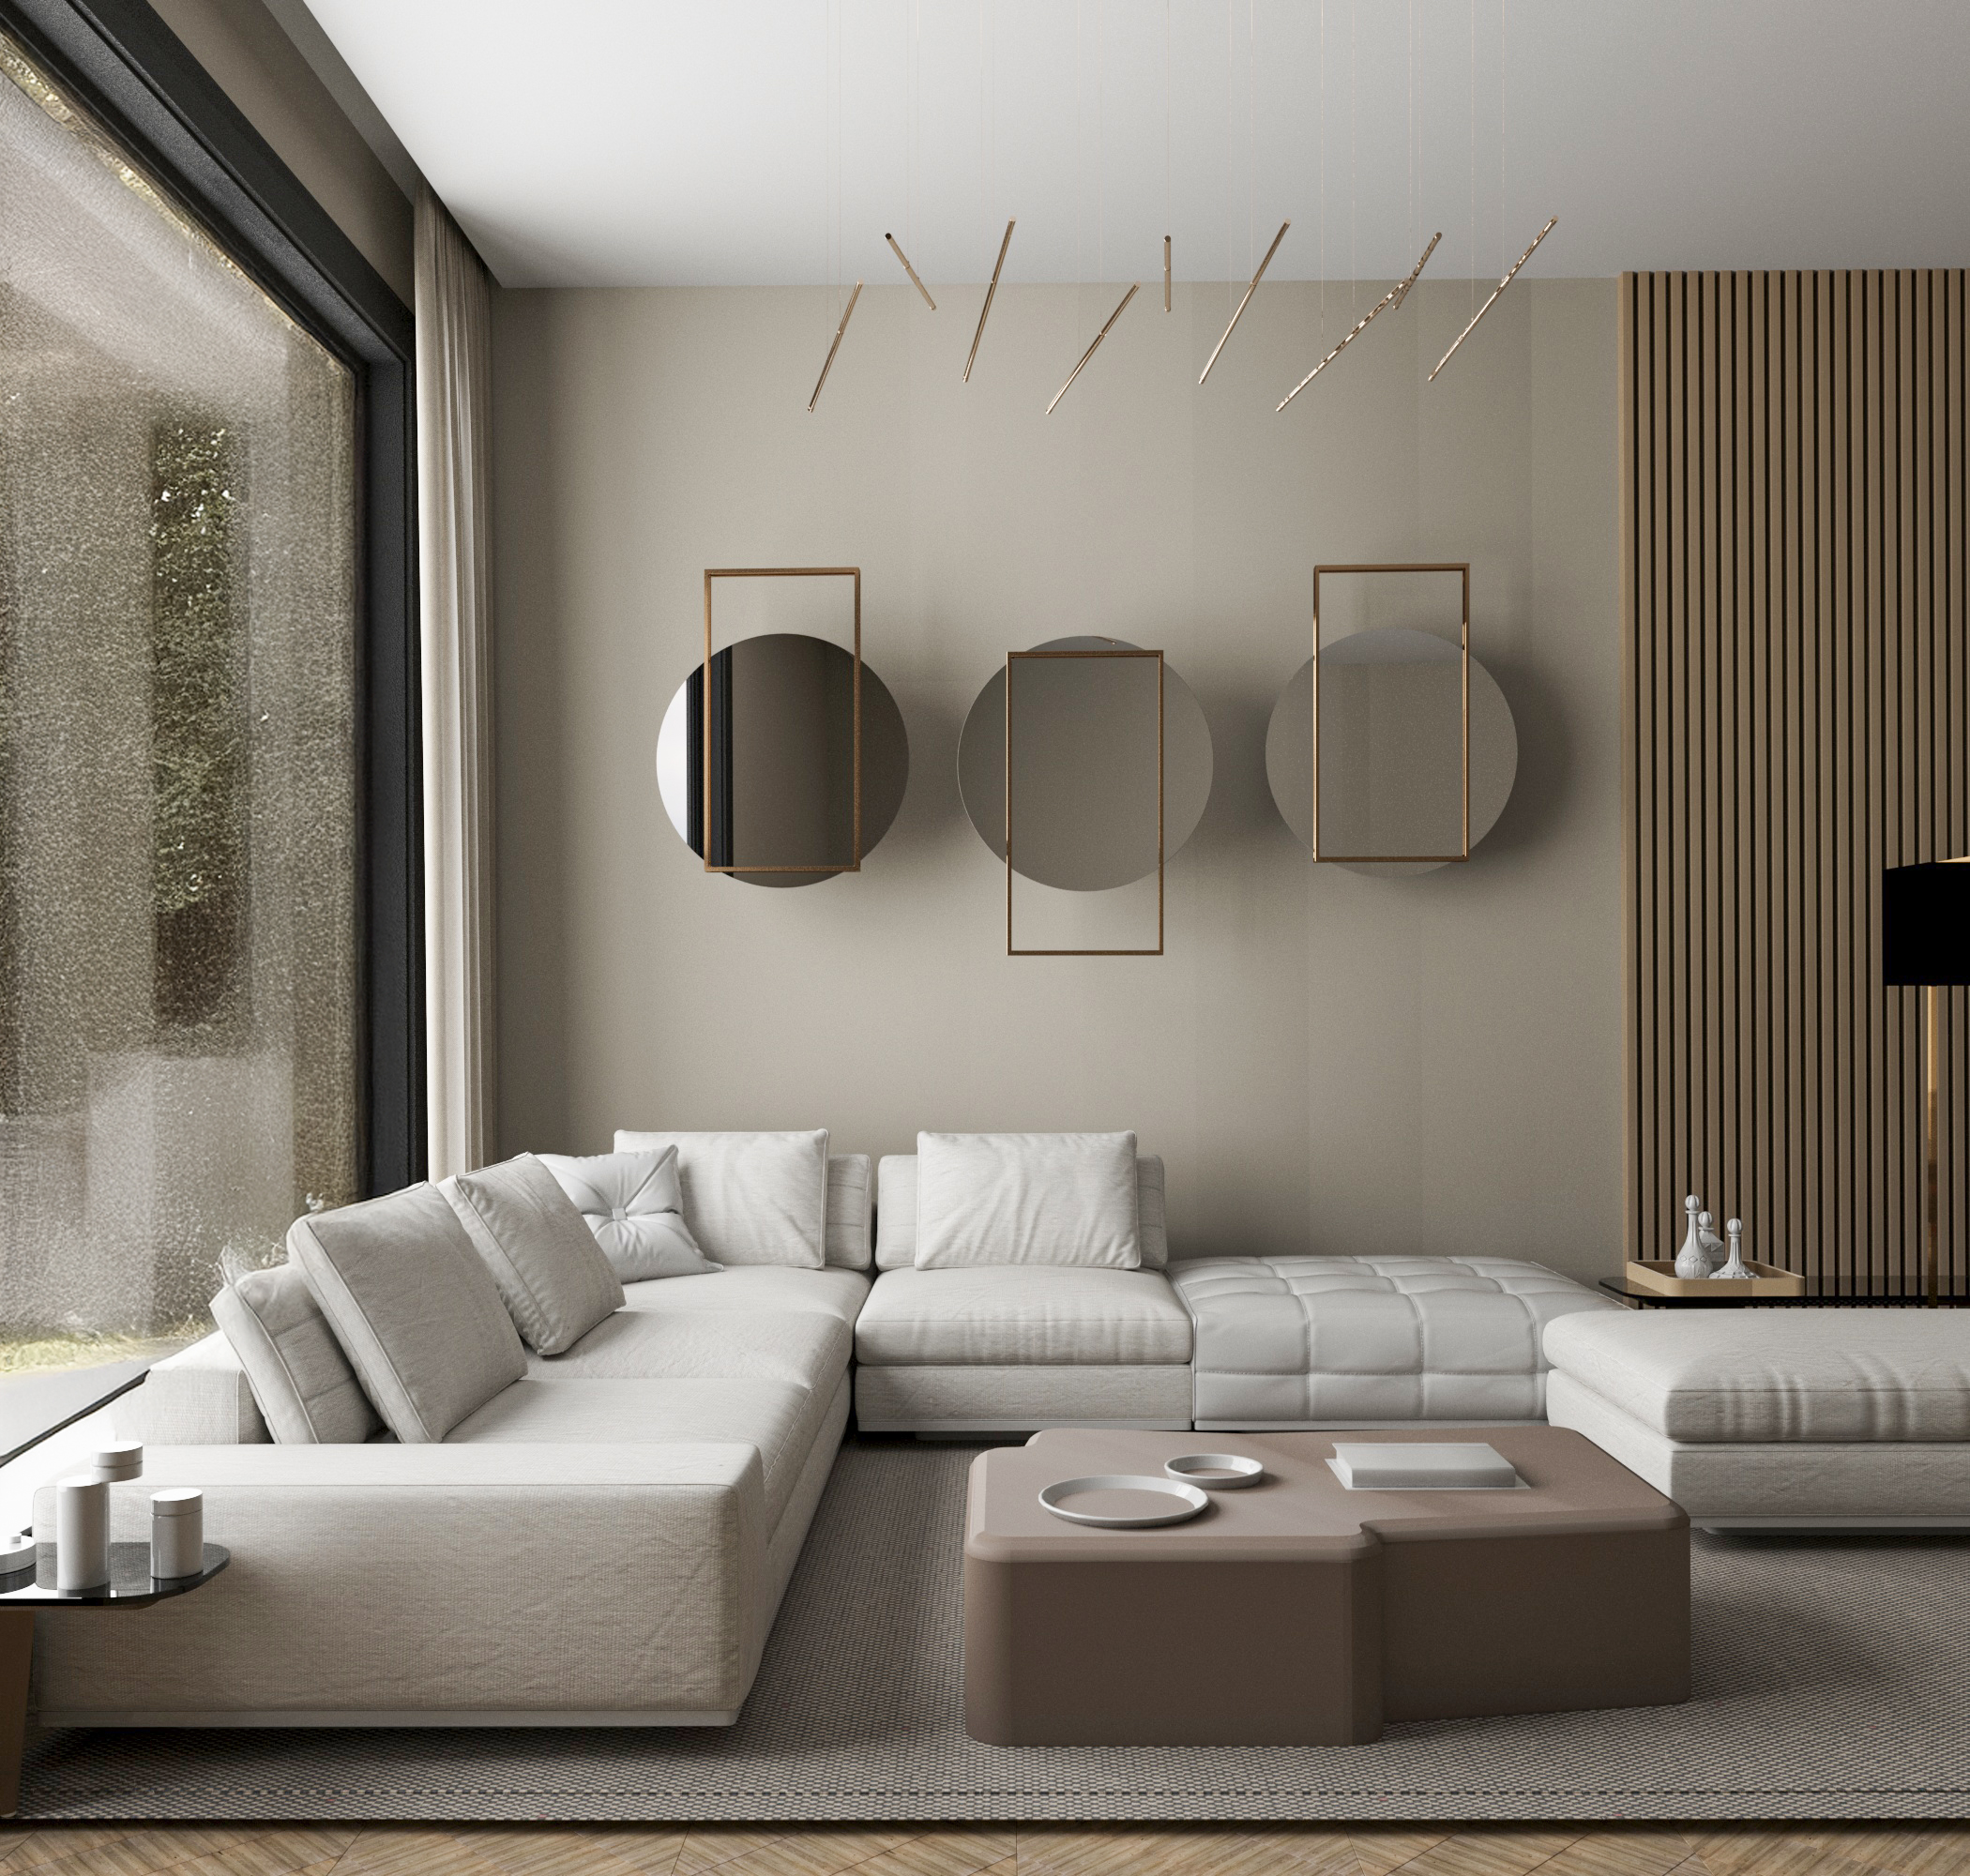
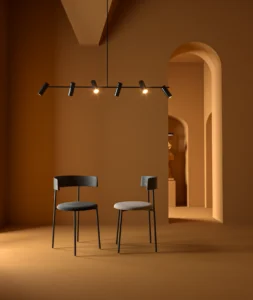
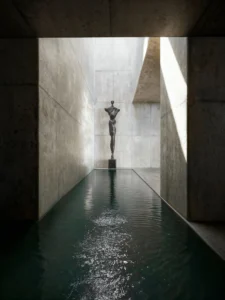
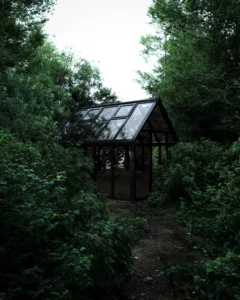
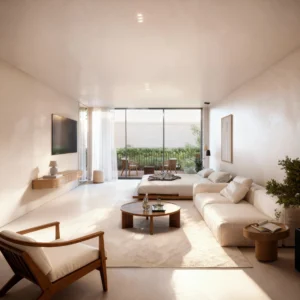
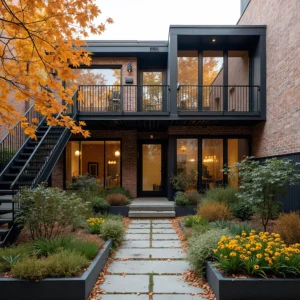
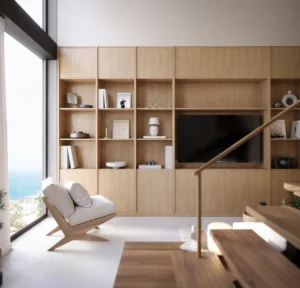
Students’ Results


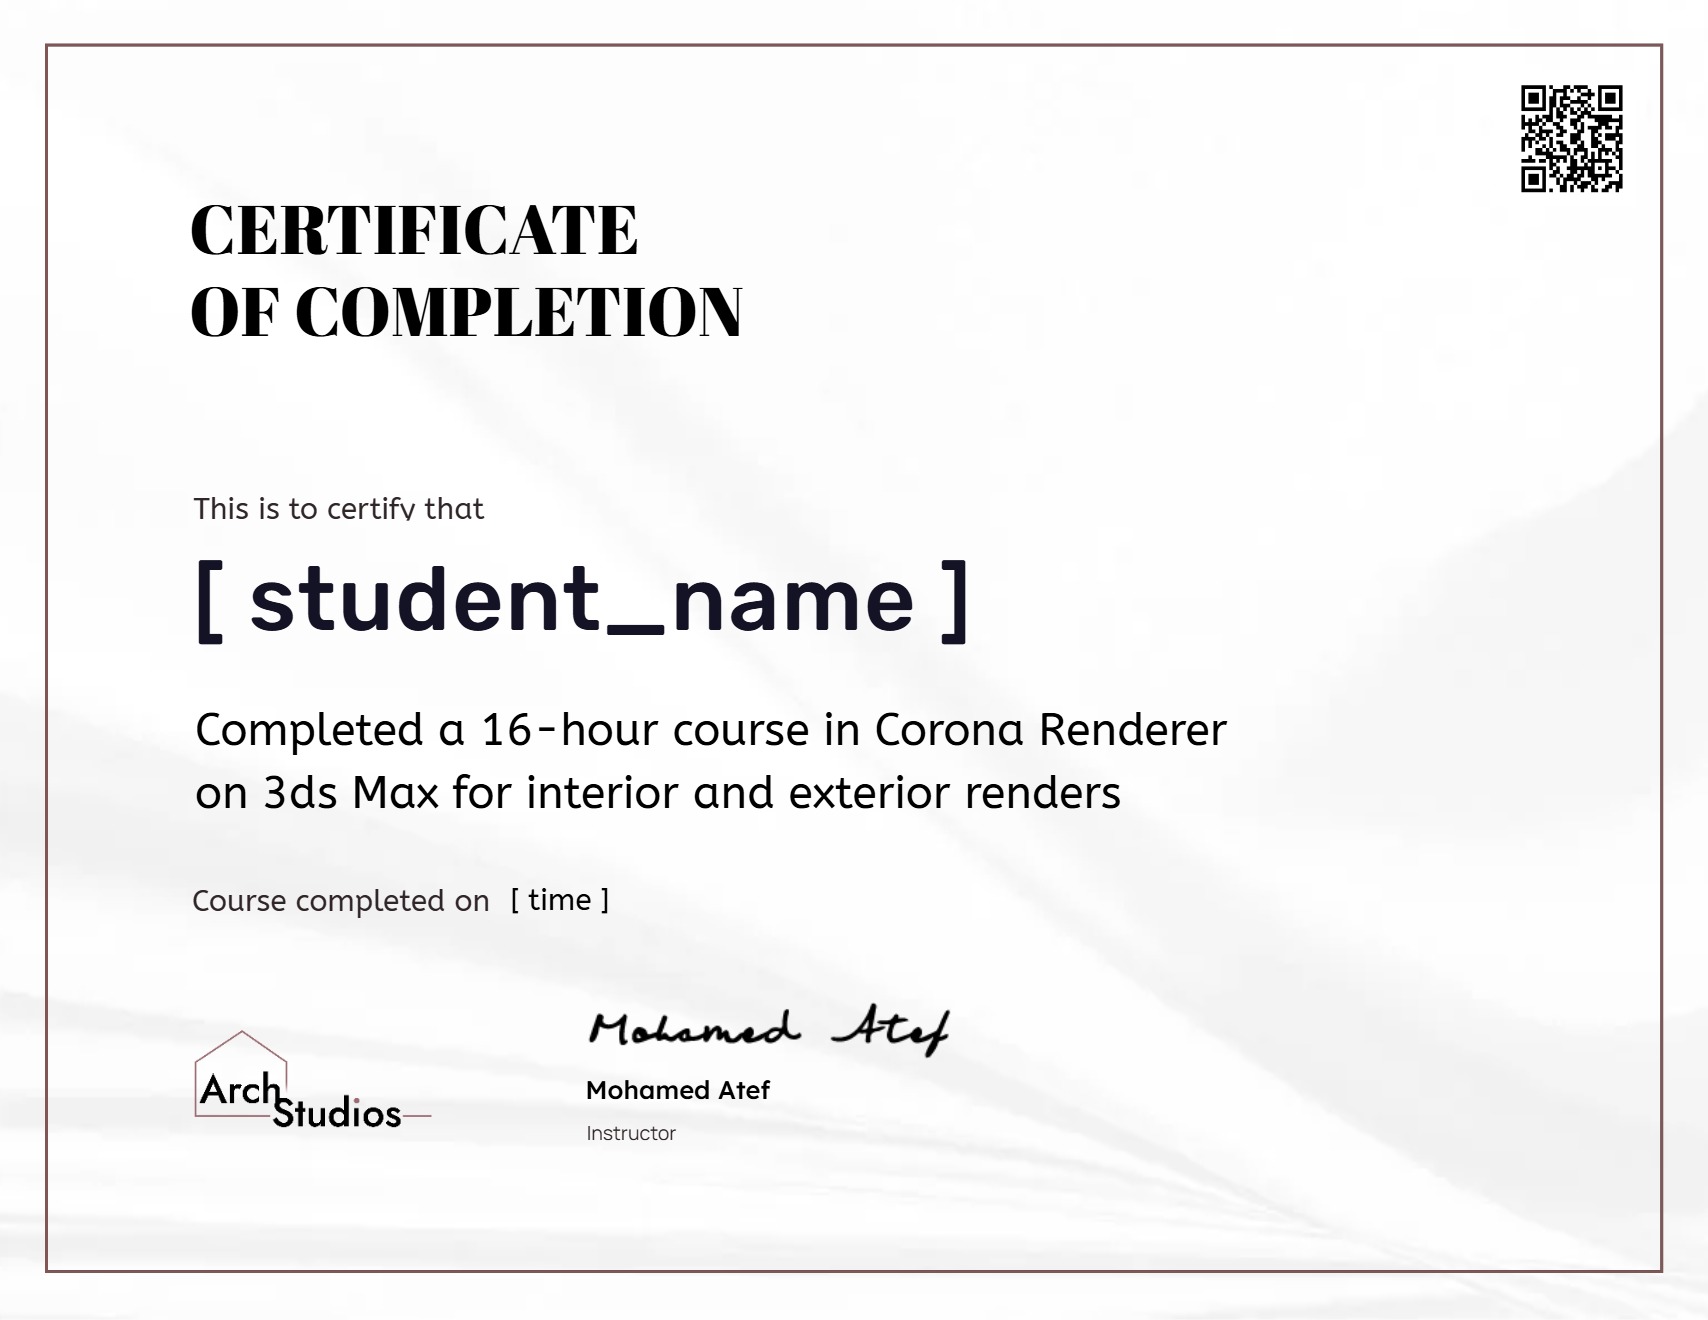
Course instructor: Mohamed Atef
Instructor Portfolio


Students’ Reviews
Thx atef and yara
Thx atef and yara
Thx atef and yara
Frequently Asked Questions
No, you don’t need any prior experience with Corona, 3ds Max, or other rendering software. However, experience with modeling and 2D drafting is required.
Yes, there is a full rendering project that every student is required to complete in order to pass the course and receive their certificate. This project ensures you understand everything covered in the course and makes a great addition to your portfolio!
Corona is widely known for its user-friendly interface and stunning, photorealistic results. It’s one of the most popular rendering engines in the architecture and interior design industries, making it an ideal choice for beginners and professionals alike.
The course runs for 3 months. During this time, you’ll have access to all the lessons and will be expected to complete your final rendering project. You can repeat the course as many times as you need during these 3 months at your own pace.
We recommend this course after your first or second year, once you’ve developed a solid foundation in 2D drafting and 3D modeling. This ensures you’re ready to dive into rendering with confidence.
Yes! You’ll learn essential post-production techniques that can take your render from good to great — including how to adjust lighting, contrast, and add final touches. Check out the full course outline below to know the full course details.
While the main focus of the course is rendering, it will also include a modeling section that covers basic tools such as importing, modifying, and editing models—everything you need to know about modeling to support the rendering process. Check out the full course outline below to know the full course details.
Yes! By the end of the course, if you watch all the lessons and apply them to your project, you’ll have the tools, techniques, and hands-on experience needed to create high-quality, professional renders. You’ll learn how to set up lighting, materials, cameras, and post-production to bring your designs to life. Like any skill, your results will improve with practice, but this course is designed to explain to you step by step every single thing you need to know about rendering using Corona and 3ds Max. You’ll also have direct access to the instructor through a Discord channel, where you can ask questions as often as you need, in whatever way works best for you.
Absolutely, the course takes you through the process of creating both exterior and interior high-quality renders with many different camera angles, lighting scenarios, moods, and styles.
The course offers a wide variety of rendering styles ranging from different camera angles, and different interior and exterior lighting situations such as daytime, overcast, blue hour and golden hour! Check out the full course outline below to know the full course details.
Course Content
3DS Max Interface
-
02:10
-
01:36
-
Join The Discord Server
-
Navigation
00:48 -
Toolbars and Menus
09:39 -
Creating and Modifying
01:44 -
View Layouts
08:14 -
Move, Rotate, Scale
03:30 -
Selection
04:13 -
Snapping
06:08 -
Layers
09:18 -
Hide, Freeze, Isolate
03:11 -
Task 01
00:30 -
To Start Resources
Modelling
-
Importing 2D CAD files
07:32 -
Importing 3D Models
05:00 -
Relinking Textures
02:57 -
Basic Modelling – Part 1
08:38 -
Basic Modelling – Part 2
07:00 -
Basic Modelling – Part 3
25:01 -
Creating an Opening
13:39 -
Modelling from 2D Plan
11:45 -
Floor Generator
19:23 -
12:13
-
Task 02
00:38 -
Task-02 Resources
-
00:13
Composition and Camera
-
Composition Elements
04:34 -
Composition Rules
07:34 -
Composition Techniques: Hero Shot
04:43 -
Composition Techniques: Front Shot
04:13 -
Composition Techniques: Closeup Shot
04:12 -
Composition Techniques: Wide Shot
02:00 -
Must-Know Composition Elements
13:49 -
15:21
-
Setting the Aspect Ratio
04:10 -
Camera Settings
13:27 -
Image Comp-Helper Plugin
03:42 -
Task 03
00:30 -
Task-03 Resources
Lighting
-
Lighting Scenarios
16:27 -
Corona Toolbar
05:36 -
06:17
-
Adding Sun
14:46 -
Sun Visibility Controls
05:16 -
Sunlight Guidelines
18:06 -
Adding Environment (Corona Sky)
09:05 -
Corona Sky Settings
17:14 -
Edit Corona Sky Colors
04:32 -
Adding HDRI Maps
21:01 -
Adding Artificial Lights
10:29 -
Advanced Corona Lights
12:29 -
LightMix
15:54 -
LightMix Part 2 + Corona Lister
12:16 -
Corona Post
16:09 -
Achieving White Balance
26:58 -
Achieving Contrast Part 1
17:57 -
Achieving Contrast Part 2
10:42 -
Lighting Steps
02:39 -
Task 04
00:33 -
31:25
-
Creating Exterior Overcast Mood
18:28 -
Creating Exterior Golden Hour Mood
15:25 -
Creating Exterior Blue Hour Mood
11:53 -
Creating Interior Daytime Mood
17:14 -
Creating Interior Overcast Mood
05:54 -
Creating Interior Golden Hour Mood
07:15 -
Creating Interior Blue Hour Mood
10:22 -
Controlling All the Moods in One Scene
04:00 -
Task 05
00:23
Materials
-
Creating a Material
04:22 -
Introduction to Material – Part 1
15:33 -
Introduction to Material – Part 2
17:16 -
Introduction to Material – Part 3
05:44 -
Task 06
00:30 -
Task-06 Resources
-
Normal or Bump Map
08:32 -
Displacement Map
07:25 -
Creating Basic Materials
09:04 -
How to Get High Quality Materials
12:55 -
06:12
-
Creating Ceramic Tiles Material
12:45 -
Creating Brick Material
04:56 -
Creating Stone Material
09:10 -
UVW Mapping
09:59 -
Material Color Correction
08:23 -
Dirt Maps – Part 1
10:37 -
Dirt Maps – Part 2
07:45 -
Ambient Occlusion
09:12 -
Blending Materials Textures
07:13 -
Task 07
00:31 -
Task-07 Resources
-
Multi-Sub Objects
06:08 -
UVW Mapping Randomizer
03:38 -
Corona Multi Map
05:59 -
Corona Rounded Edges
01:44 -
Corona Slicer Material
02:04 -
Corona Fabric Material
18:47 -
Multi-Texture Plugin
03:54 -
Corona Decals
07:43 -
Creating Water Material
11:27 -
Creating Volumetric Material
09:16 -
Corona Light Material
03:07 -
Adding Image as a Background
07:51 -
Corona Proxy
04:34 -
Chaos Scatter
14:59 -
Creating Grass Material
09:22 -
Sky Override
03:06 -
Task 08
00:36 -
Following The system
00:53
Rendering
-
Interactive Rendering
02:12 -
Production Rendering
01:55 -
Render Setup
11:45 -
Render Elements
11:45 -
Batch Render
03:20 -
Preparing Render Elements
05:58
Post-Production
-
Photoshop Layering System
11:57 -
Adjustment Layers
10:47 -
Adding Cutouts
12:46 -
Camera Raw Filter
05:24 -
Example Overview
03:18 -
00:28